10 Ways to Integrate Nearpod and Google Apps for Edtech Fluidity
Among the sea of educational apps that seems to grow larger by the day, Nearpod differentiates itself thanks to its versatility and utility for virtually all levels and topics. It’s a great home base for teachers because of how seamlessly it integrates with other powerful tools. Nearpod is also integrated with Google Slides, learn more about the Nearpod Add-On for Google Slides.
Here are a few of the ways that Nearpod integrates with Google Apps for education:
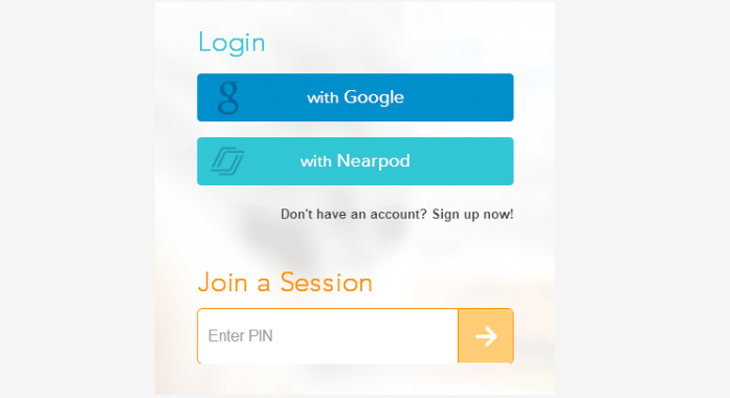
1. Single Sign on: Sign into Nearpod using your Google account.

This guide will walk you through getting started if you haven’t yet.
2. Access your documents in Google drive: If Google Drive has become the storage place for your online documents, now you can access them directly when creating your Nearpod Presentation in Nearpod’s Content Creation tool, and we’ll automatically handle the formatting for you.

3. Create new slides using Google Images: When creating your Nearpod presentation, simply click ‘Google images’ to add an image to your slides. The ease of access to such a vast selection of images means that creating visually engaging presentations happens naturally.
4. Collaborate on Google Documents in real time: You can share a Google document using Nearpod’s share web feature (here is how to do it). This feature is ideal for brainstorming sessions, class notes, or group assignments. As Nearpod allows the teacher to control the overall pace of the classroom, this “activity” will last for as long as you want.
5. Use Google Forms to conduct longer surveys: Nearpod’s Poll and Quiz features are ideal in helping you assess and learn important information about your class “on the fly”. But if what you need is a longer or more detailed survey, you can then insert a Google Form as part of your Nearpod Presentation (again, you must use the share web feature for this). Their answers will automatically be organized into a spreadsheet that you can then share with your students with a separate slide. Here is a quick guide that will show you how to create a Google form. It’s super easy!
6. Share a custom Google Map: No need to waste classroom time looking for the right map and then sending it to your students by e-mail. Google Maps allows for a surprising amount of customization, and your Nearpod Presentation allows you give your students’ direct access to it.
This guide will teach you how to create a custom Google map. Once you have it, just share the URL with your students by using Nearpod’s share web feature. Everybody will start at the same place!

7. Explore the possibilities of other linkable Google resources: Make your students’ devices their portal to the world by giving them virtual tours of museums with the Google Cultural Institute.
So you and your students cannot travel to Brazil for next month’s FIFA World Cup? Well, you can use Nearpod and Google Street View to visit the famous Maracana Stadium. You simply need to copy this URL from google street view and paste it in Nearpod as a “Share web page” slide)

8. Personalize your instruction by including interactive Google presentations as part of your Nearpod. You can give options to your students to choose among different contents that you may want to share.
This is an example of how it can look:

This is the “step by step” instruction.
- i. Create a new Google Presentation.
- ii. In the first slide, add a few images of different content that you would like your students to choose from.
- iii. Use hyper links to link each image to an external resources (e.g. youtube video) or to a specific slide in that same presentation.
- iv. Include the URL of that Google Presentation in Nearpod by following these steps:
- In your Google presentation, go to ‘file’, then ‘publish to the web’, to find the document link.
- Copy the document link and paste it in Nearpod, using the web share

IMPORTANT TIP: be sure to change the sharing settings on the docs you plan to share with your students to “public on the web” or “anyone with the link.”
9. Assign Homework using Google Groups: With Google Groups, you can add each of the students in your class to an email list. Send the code for a self paced Nearpod Presentation to this list, and each of your students will have their homework delivered to their inbox. Then, replying to the mail will allow your students to discuss the assignment before they even get back into the classroom.
10. Add YouTube videos with ease: You can paste the URL of a YouTube video while creating your Nearpod Presentation.

UPDATE!
11. Nearpodize this: Turn your Google presentations into interactive Nearpod Presentations with the click of a button. Check out this blog post to explore more on Nearpodizing your Google Slides.
- Open your GDrive on a Google Chrome browser and look for a Google Presentation.

- Once in the presentation, click on the “Nearpodize” extension (you’ll have to download it first) to begin converting it into an NPP. You can directly launch the NPP or edit it first.

- Voilà! Your NPP is ready 🙂 Share the PIN with your students to get started!

Great apps make great experiences! Lots of educators from all around the globe have already shared their Nearpod stories. We’d love to hear yours!
Are you new in our community? Check this out: Meet Nearpod 🙂
Nearpod’s award-winning platform is used by thousands of schools around the globe, transforming classroom engagement.